The following instruction describes the configuration of a VPN connection to the TU Dresden network for Android.
Requirements:
Smartphone, tablet or cell phone based on Android with WLAN
time and date must be set correctly
ZIH-user account
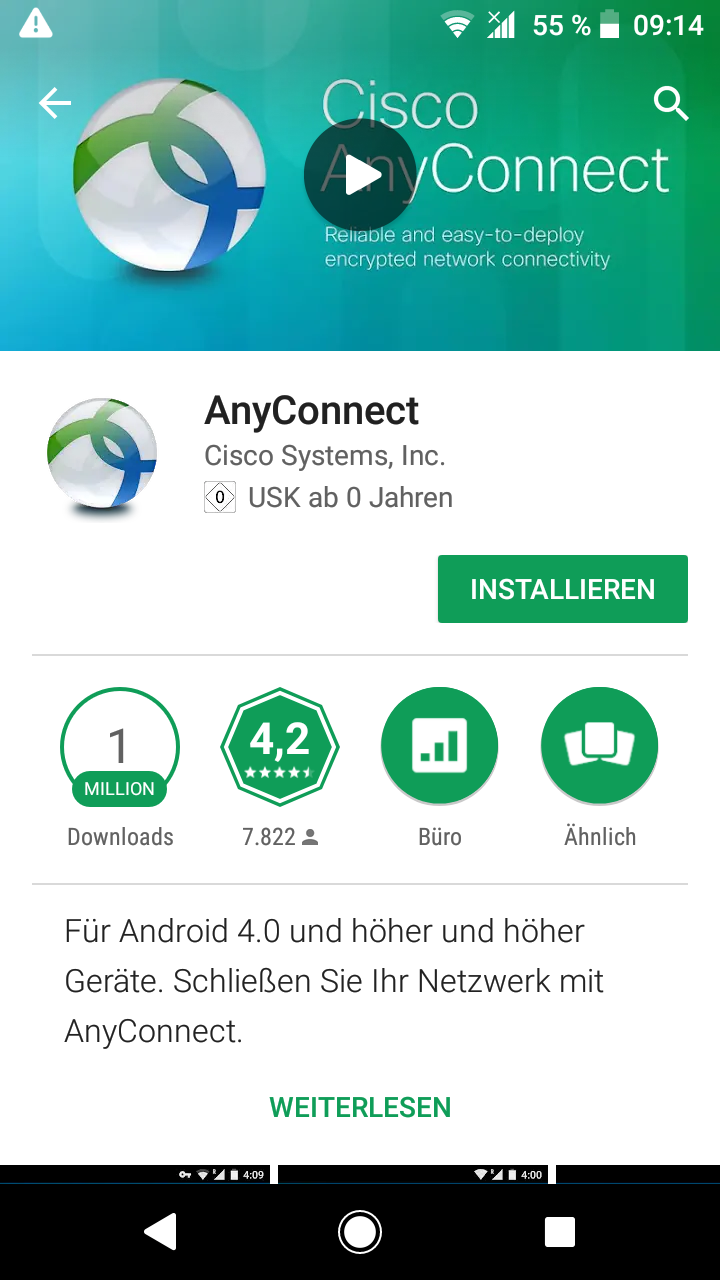
Install the Cisco AnyConnect app from the Google Playstore.
Launch the Cisco AnyConnect app.
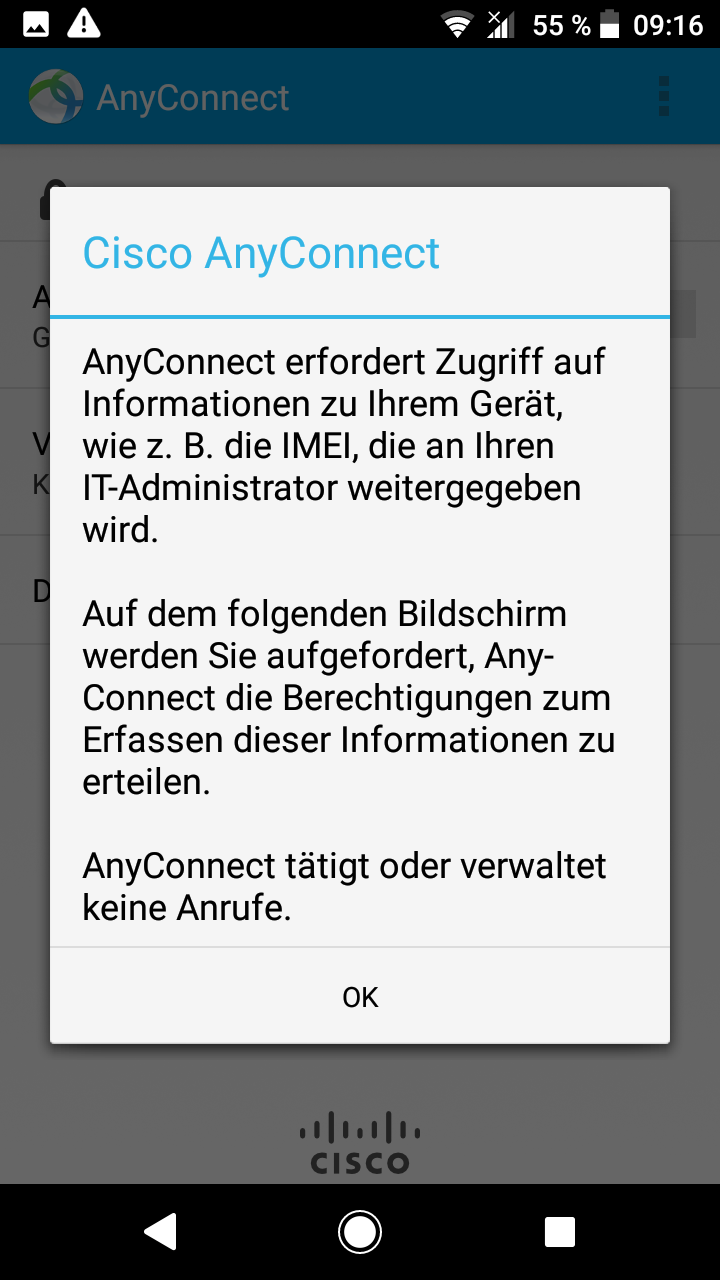
Read and accept the Cisco AnyConnect License Terms if you agree. Do not allow any phone calls. Then click on "Connections" and then on "Create new connection".

In the "Connection Editor" please enter the following data:
Description: TU Dresden (or another text)
Server-address: vpn2.zih.tu-dresden.de
Advanced configuration: -
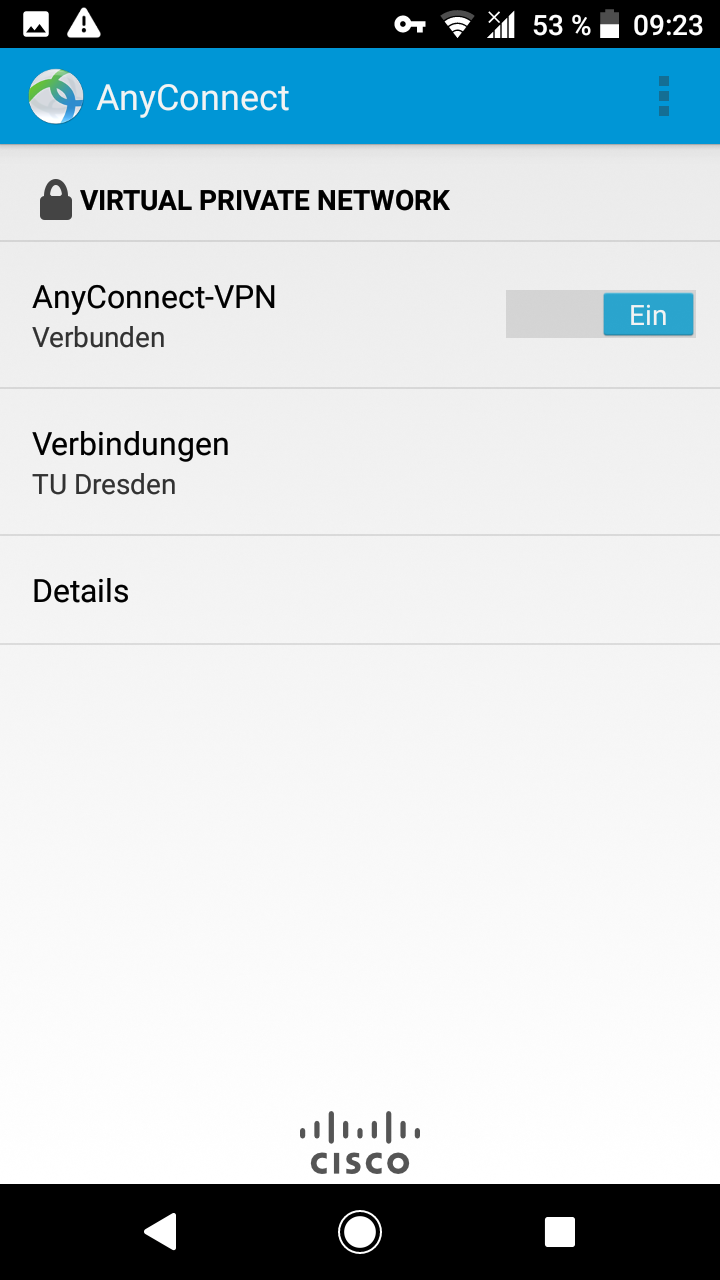
Now please turn on the VPN by clicking the "AnyConnect VPN on-off switch" (see screenshot point 3).
Now you have to enter your access data. Please enter the following data here:
Group: A-Tunnel-TU-Networks
Username: your ZIH-Login@tu-dresden.de
Password: your ZIH-password
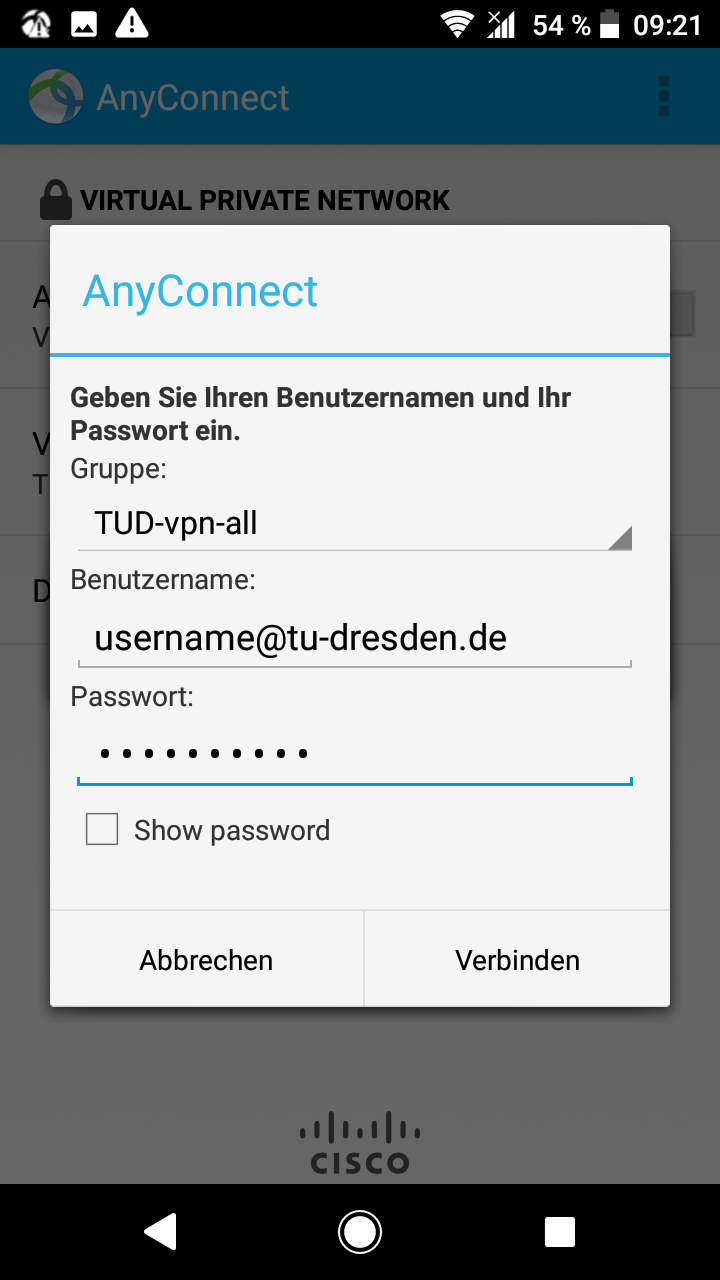
After entering the data, please click on "Connect". Instead of the recommended group "A-Tunnel-TU-Networks" other groups can be selected. You can find an explanation here.
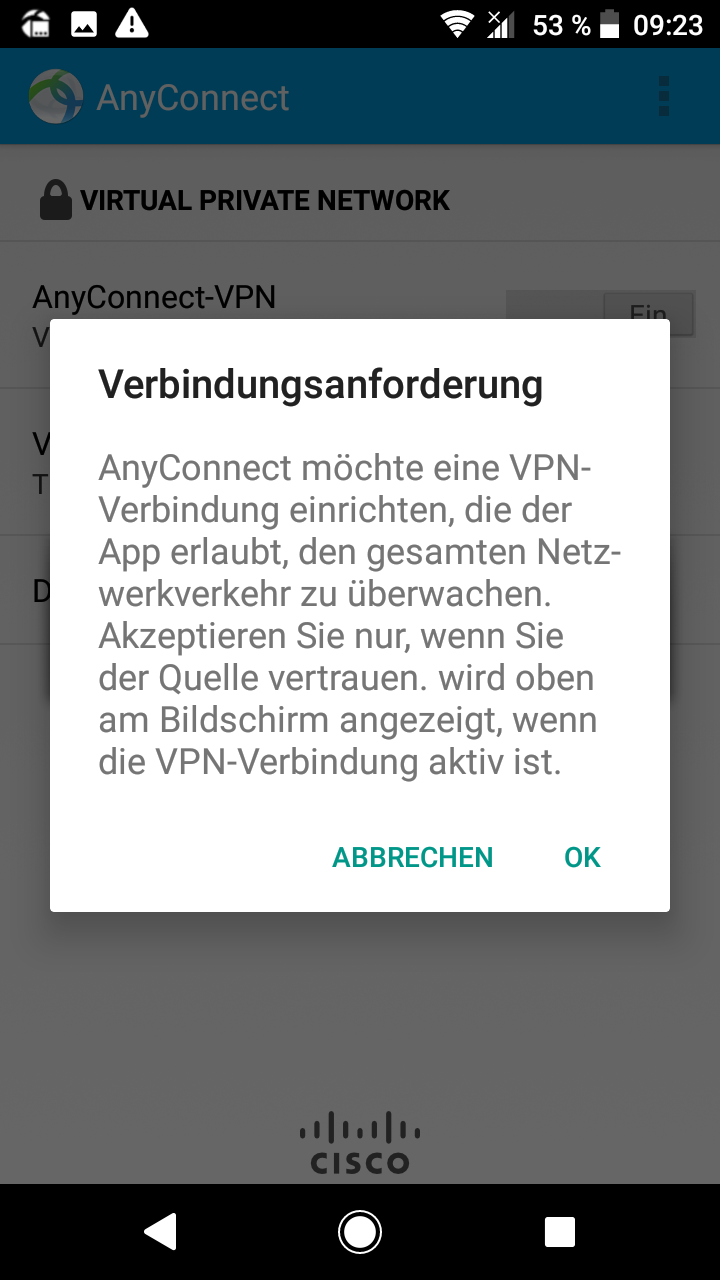
Now you need to confirm the connection request with the "OK" button.
Special characteristics: