In order to digitally sign documents, Adobe Reader has to be configured first.
This happens in a central Adobe configuration file and covers the DFN PKI certificate chain, the DFN-PKI time stamp service (for a confidential time stamp)
as well as the integration of the DFN PKI LDAP directory service in Windows.
All further instructions require the installation of Adobe Reader X (or Adobe Acrobat X).
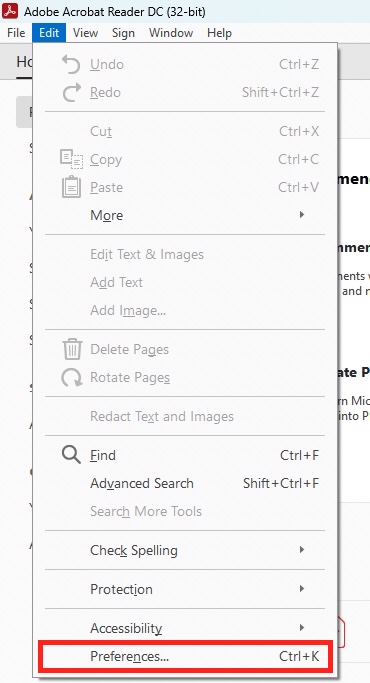
- Start Adobe Reader and go to Edit-->Preferences.
 Adobe settings
- First, make sure that Adobe is familiar with the T-TeleSec root certificate required by TU Dresden.
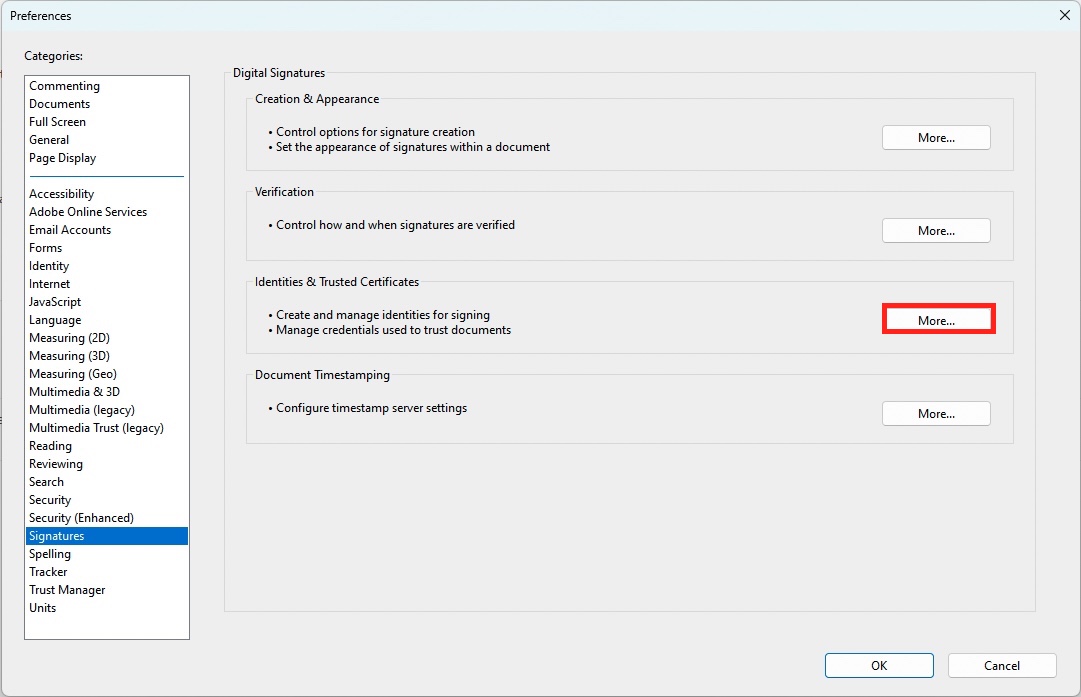
- Click the Signatures option under Categories on the left. In the Identities and Trusted Certificates section, press the More... button. The Settings for digital IDs and trusted certificates window opens.
 Preferences window, Signatures, Identities and Trusted Certificates category
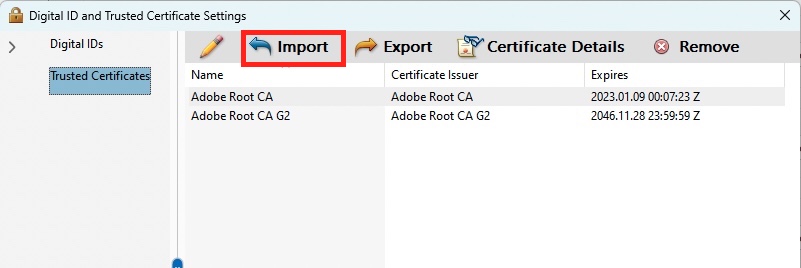
- In the navigation menu on the left, click Trusted Certificates. Make sure that a certificate with name and issuer T-TeleSec_GlobalRoot_Class is missing in the displayed list. You can download the certificate T-TeleSec_GlobalRoot_Class_2.crt (if this won't work, please right-click on this link and open this link in a new tab) via this link or directly from the DFN PKI web pages.
- Then select the Import button above.
 Digital ID and Trusted Certificate Settings, Trusted Certificates, Import window
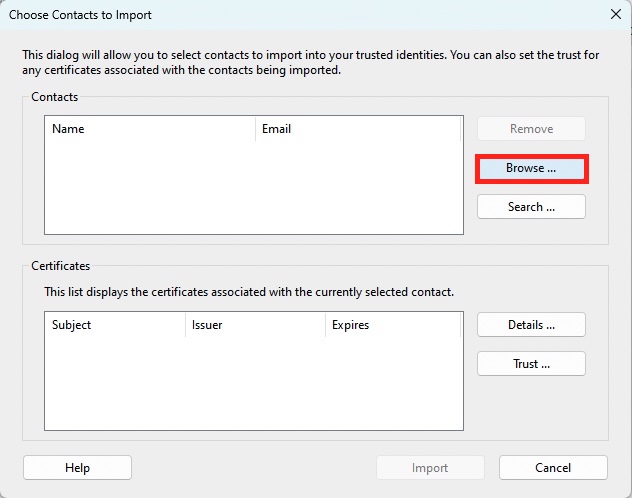
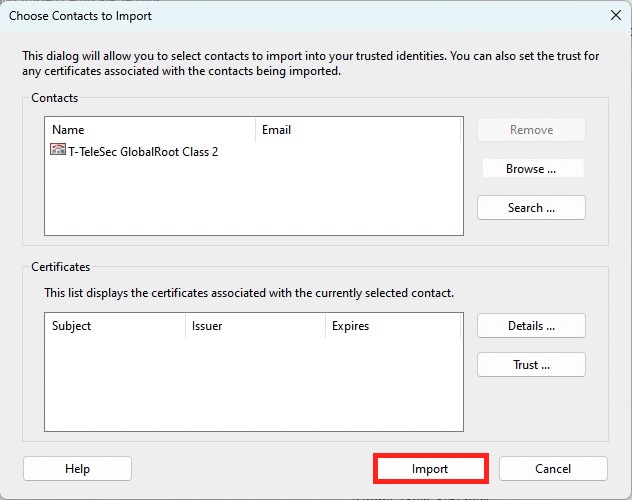
- Another window will open, go to Browse... and open the downloaded certificate. An entry "T-TeleSec GlobalRoot Class 2" is now listed in the Contacts section.
 Select contacts to import, Deutsche Telekom Root CA 2, Import window
- Continue by clicking Import.
 Import window
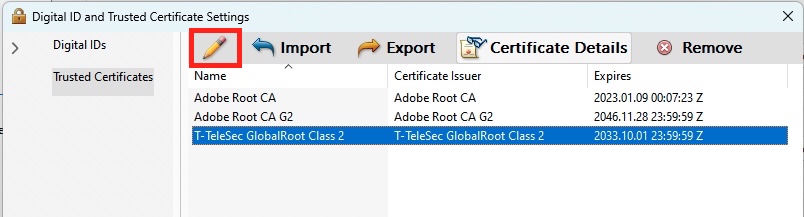
- A dialog box "1 issuer certificate(s) imported" appears. Confirm this with OK. The list of trusted certificates now includes an entry "T-TeleSec_GlobalRoot_Class" as the name and issuer of the certificate.
- Select the certificate and press the Edit button.
 Certificate Permissions window
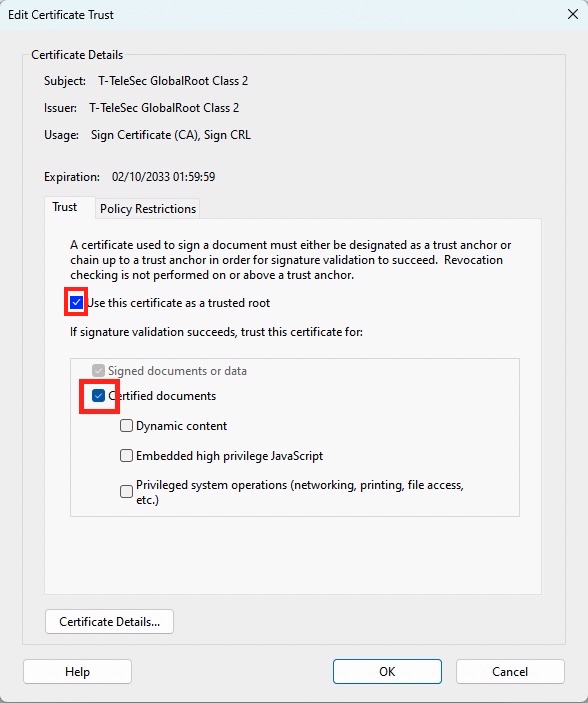
- Now check the Use this certificate as trusted root and Certified documents options. Close the window by clicking OK.
 Edit Certificate Trust
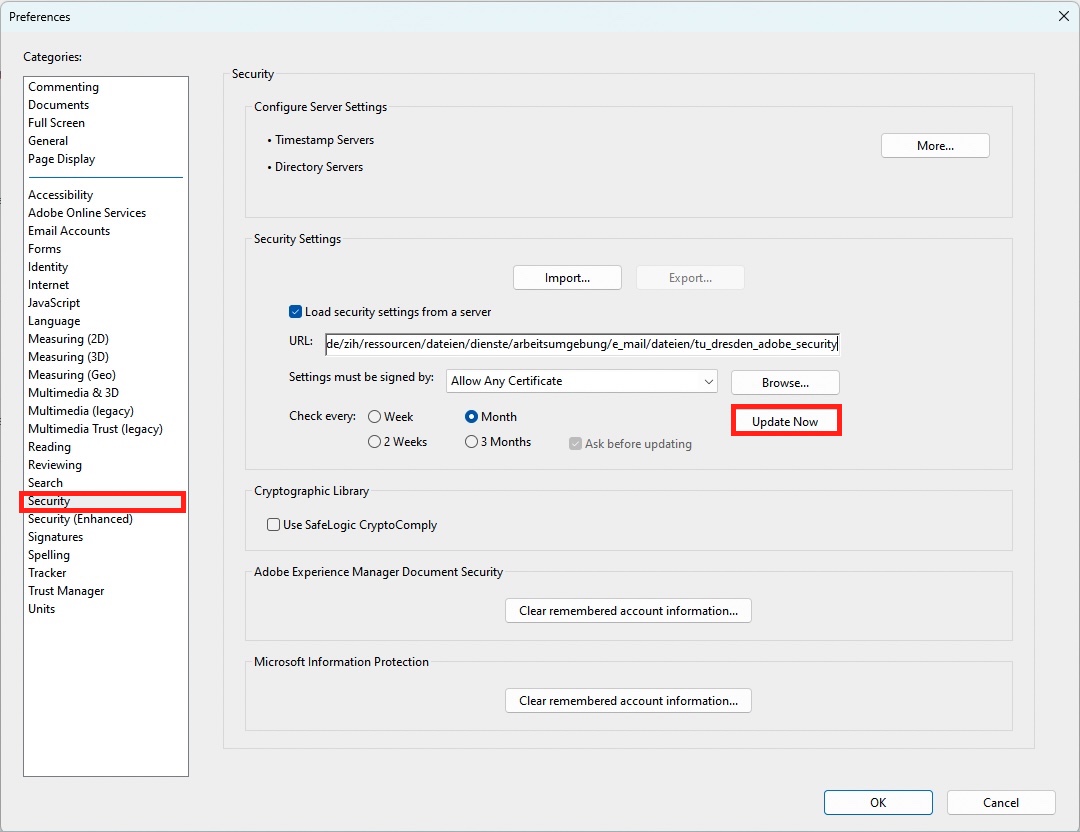
- Click the Security option under Categories on the left. On the right side of the window, check Load security settings from a server. Enter in the URL field:
https://tu-dresden.de/zih/ressourcen/dateien/dienste/arbeitsumgebung/e_mail/dateien/tu_dresden_adobe_security
- In the option box Settings must be signed by: select Allow Any Certificate and click on Update Now.
 Security Preferences
- Confirm all following windows.
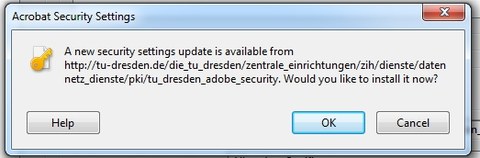 Safety warning
- Now the configuration of your certificate is still missing. Please navigate to Signatures and click on More...
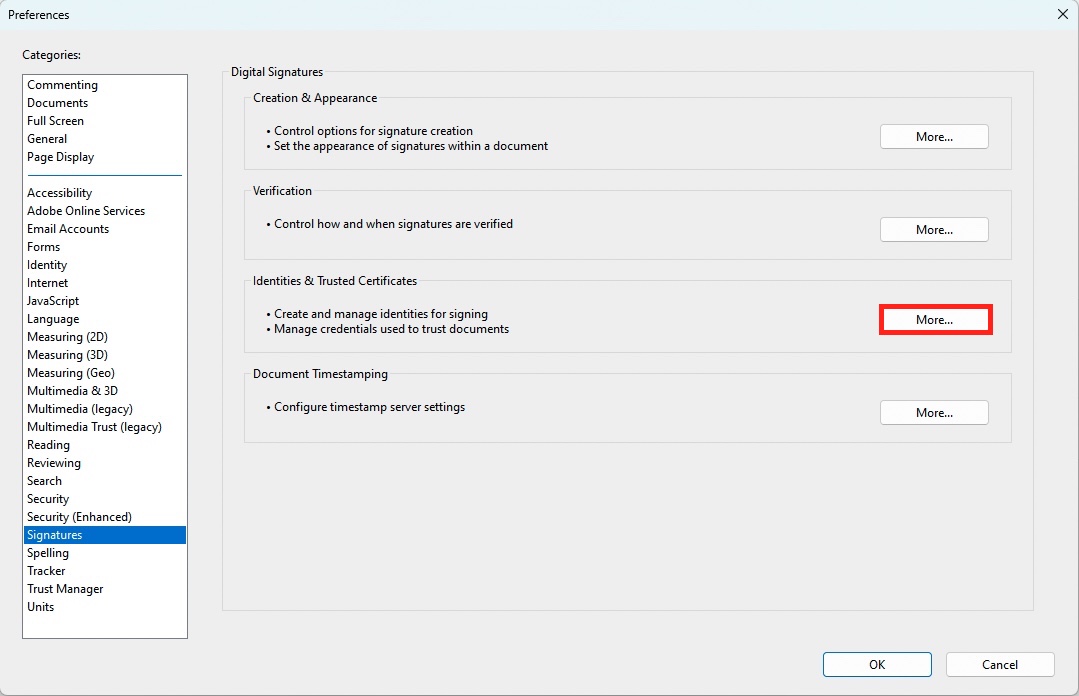 Preferences window, Signatures
- There, select Digital IDs from Windows and then your certificate on the right side of the window, if your certificate does not yet exist, you can import it via Add ID left from Usage Options.
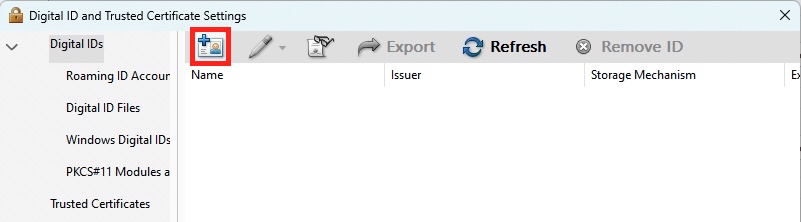 Add new certificate
- In the menu, please activate Use for signing. You can now sign documents with your certificate.
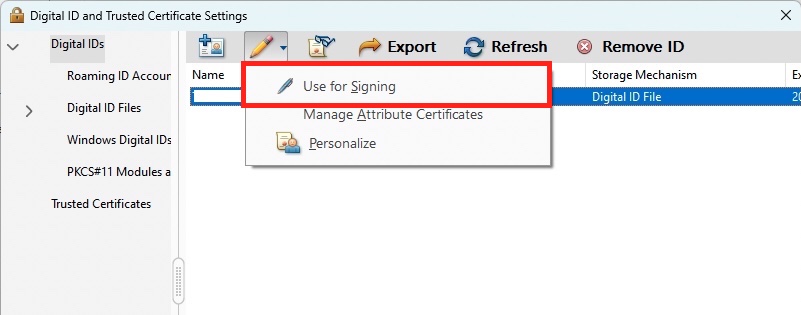 Mark digital ID to use for signing