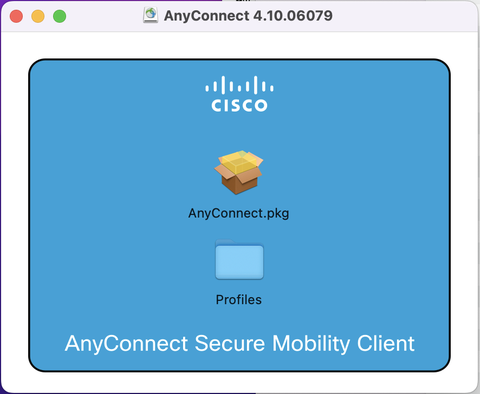
Mount the DMG-file and double-click on AnyConnect.pkg.
Opened installationsprogramm
The installation will be startet. Please click on Continue.
First installation step
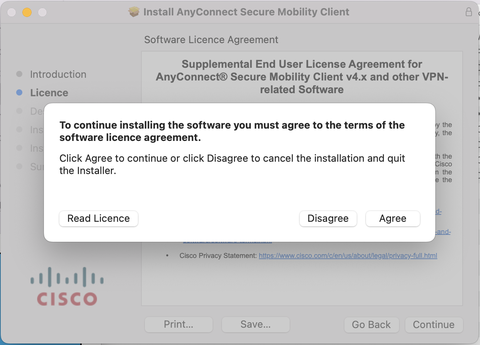
Please read the license agreement and accept it with Continue and then Agree
Second installation step
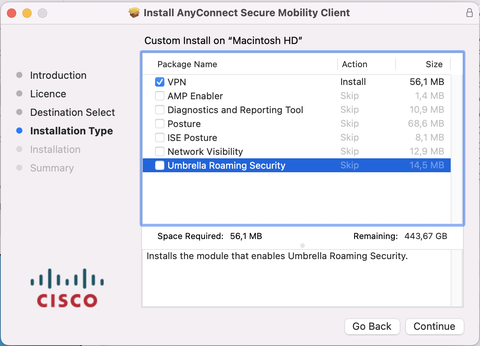
Uncheck all packages but VPN and then click on Continue :
Just select VPN
Click on Install to start the Installation.
Start the installation
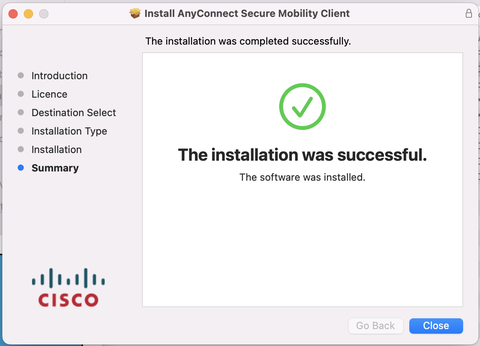
After successful installation, please click on Close.
Successful installation
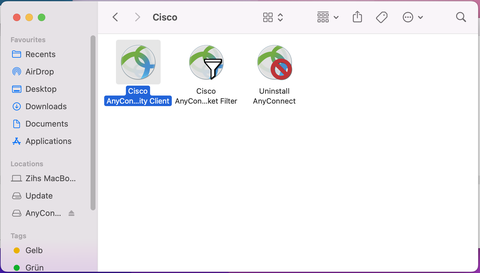
In the Finder look for AnyConnect under Applications/Cisco and start it by double-klicking on the AnyConnect-Icon:
Start Cisco AnyConnect
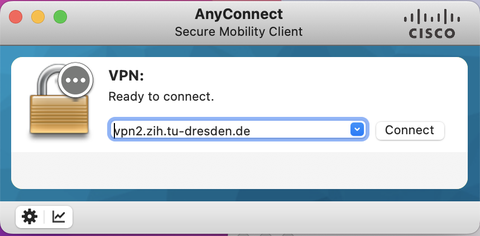
Enter the name of the VPN-Gateway: vpn2.zih.tu-dresden.de. Then click on Connect.
Fill out the VPN Address
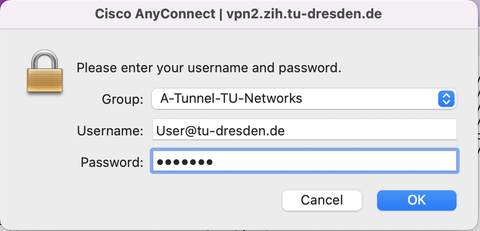
Type in your ZIH login User@tu-dresden.de in the Username field (with tu-dresden.de as VPN group). In the Password field type in your ZIH password. Please click on OK then. You may use a different Group instead Group: "A-Tunnel-TU-Networks" for tunneling. here you find an explanation for this.
Enter your login information
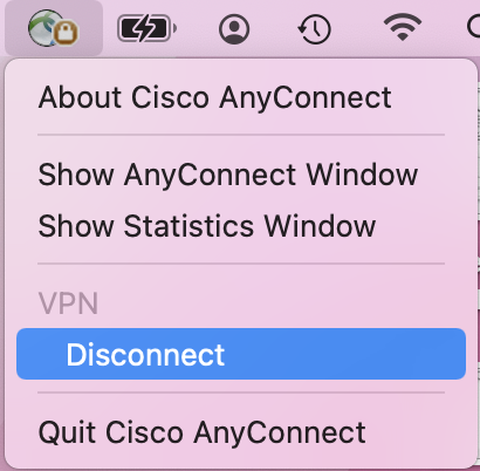
After creating the VPN connection, you'll be assigned an IP address from within the regarding TU Dresden network. You'll find a lock symbol in the menubar.
Lock symbol in menubar
To close the VPN connection, click on the symbol in the menubar and click on Disconnect.
Disconnect VPN
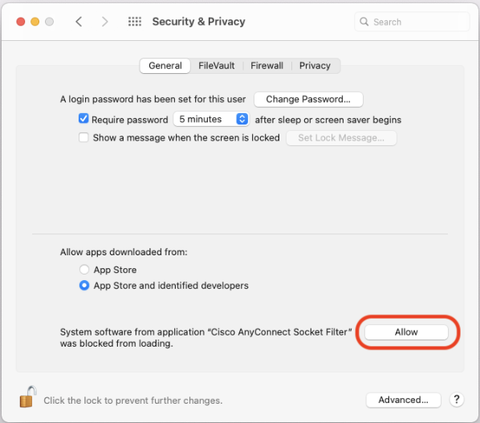
With MacOS High Sierra (10.13 and later) you need to enable the AnyConnect software extension on the Security & Privacy Pane in System Preferences: